


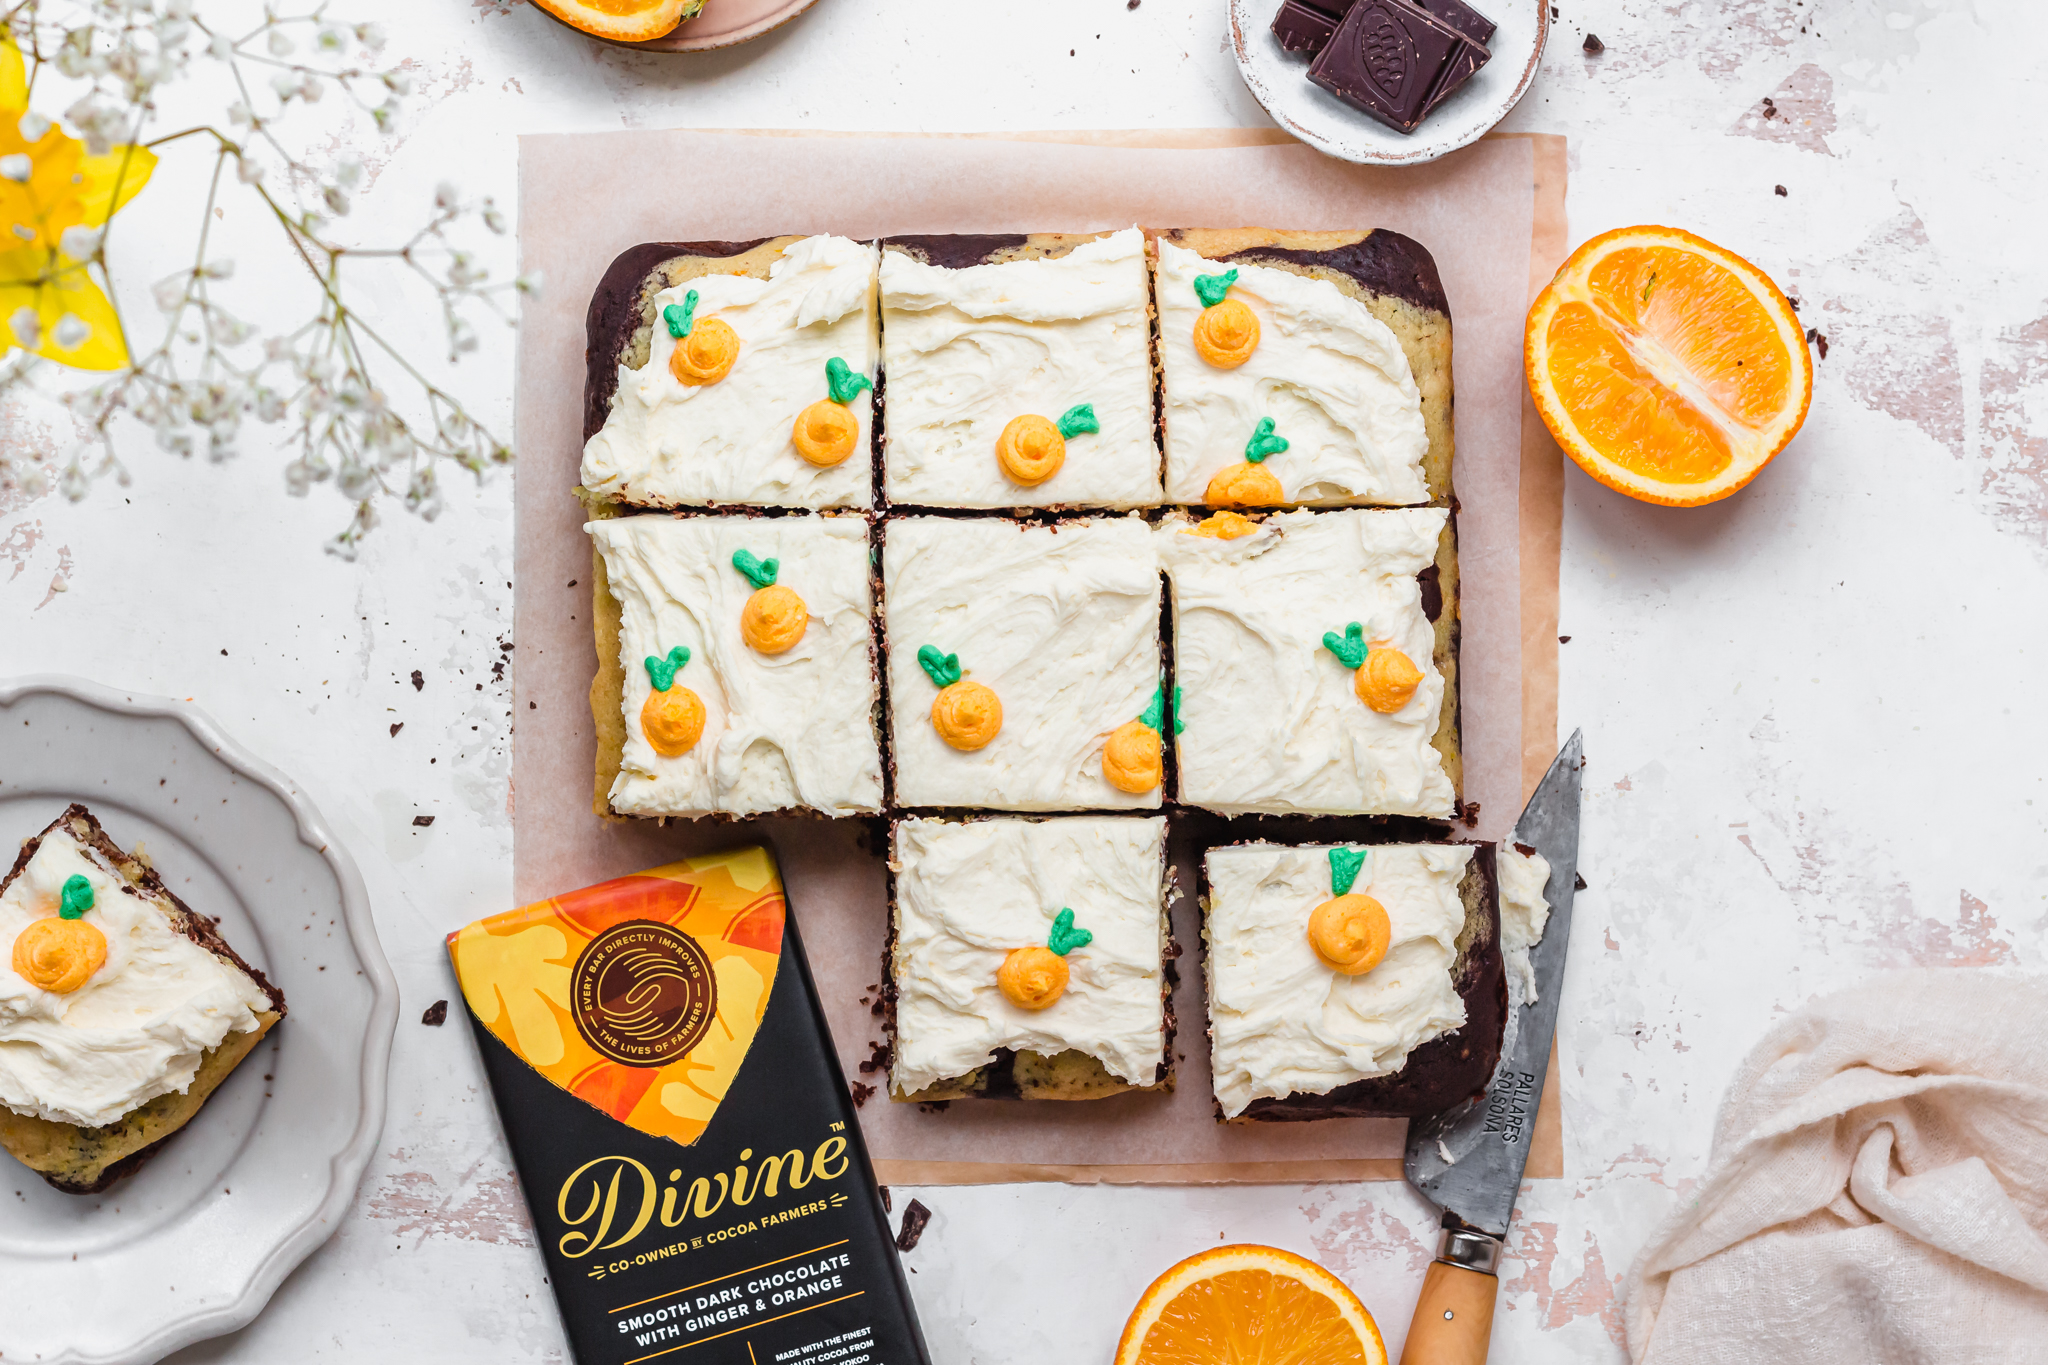
A light, fluffy and zesty Chocolate Orange Marble Cake with pretty swirls all the way through. Decorate this cake with luscious vanilla buttercream and mini buttercream oranges for a fun and simple showstopper spring cake that is rich and chocolatey but light and fruity. It is naturally vegan, gluten-free and nut-free.
By Nourishing Amy
Chocolate Orange Marble Cake
Prep Time: 20 minutes
Serves: 9-12 People
Ingredients
For the Cake Sponge
1 cup + 2 tbsp plant-based milk, divided
1 tbsp lemon juice
1 cup caster sugar
⅓ light olive or sunflower oil
1 orange, zested
1 tsp vanilla essence
1¾ self-raising flour (or gluten-free SF flour)
½ tsp baking soda
2 tbsp cocoa powder
A pinch of salt
1 Divine Dark Orange and Ginger Chocolate bar, chopped small
For the Buttercream
⅓ cup vegan butter, softened
2 tbsp vegan cream cheese
3 cups icing sugar
½ tsp vanilla essence
1-2 tbsp plant-based milk
Orange and green vegan food gel
Method
Step 1
Preheat the oven to 350F and line an 8-inch square pan with parchment paper.
Step 2
Into a large mixing bowl: whisk together the 1 cup milk and 1 tbsp lemon juice. Leave for 5 minutes to curdle. Now add in the sugar, oil, orange zest and vanilla essence and whisk till smooth. Sift in the flour and baking soda and add the salt and whisk till smooth.
Step 3
Divide the batter into two smaller bowls.
Step 4
For the chocolate batter: sift in the cocoa powder and add 2 tbsp milk. Whisk until smooth and then fold in half of the chopped chocolate.
Step 5
For the orange batter: fold in the other half of chopped chocolate.
Step 6
To create the marble effect: use an ice cream scoop or large serving spoon to alternate between scoops of chocolate and orange batter, spooning them into the tin in a random pattern. Once both batters have been used up, use a knife to swirl through the batters (don’t overdo it otherwise you’ll lose definition).
Step 7
To bake: place in the middle of the oven and bake for 24 minutes, until risen and springy to touch and an inserted skewer comes out clean. Allow to cool for 10 minutes in the tin then lift out carefully to cool fully on a wire rack.
Step 8
For the buttercream: beat together the butter and cream cheese using a handheld electric or freestanding mixer. Once softened, gradually beat in the icing sugar, vanilla essence and plant milk. Once incorporated, beat for a further 1-2 minutes, till really fluffy.
Step 9
For the oranges: place ⅓ cup of buttercream into a small bowl and add 1-2 drops of orange food gel and stir to reach your desired color. Spoon ~ ¼ cup buttercream into another bowl and add 1-2 drops green food coloring and combine. Place each color into separate piping bags with small holes at the ends.
Step 10
To decorate: place the cake on a serving plate and spoon and spread over the vanilla buttercream. Pipe an orange-colored round and then use the green buttercream to add on the stalk. Continue to add on as many oranges as you like.
Step 11
To serve: slice the cake with a large, sharp knife into 9-12 squares or slices and enjoy.
Step 12
To store: keep in a sealed container for 3-5 days or you can freeze the unfrosted loaf for 1 month and allow to defrost before decorating.